The braided yeast bread is ubiquitous in Germany, but isn’t a German phenomenon – it’s a global one. The idea of braiding sweetened yeast dough appears in so many cultures that you could almost think people invented it independently. And perhaps that’s even true. The most well-known might be the Jewish challah, which is served on Shabbat and holidays and whose name is even mentioned in the Old Testament. It’s traditionally braided from six strands – just like our recipe here – and sprinkled with poppy seeds or sesame seeds; the dough can be sweet or savory. The Greek tsoureki, an Easter bread flavored with oranges, mastic, and mahleki, is another wonderful relative. In Switzerland, braided bread is known as the quintessential Sunday breakfast bread, while in Austria and Bavaria, braided yeast bread is an integral part of Easter.
Let’s get started! A braided yeast bread can be made with just water, like regular bread (e.g., challah), but with milk and a little butter, as in our recipe, you get a more cake-like, “luxury” version.
First, dissolve yeast and sugar in room-temperature milk. We used active dry yeast, which worked well. What’s commonplace today – a cube of fresh yeast or a packet of dry yeast from the supermarket – wasn’t so simple until the 19th century. Anyone wanting to bake yeast bread had to get the yeast from the brewery, because back then, they used brewer’s yeast.

We place the yeast mixture in a warm spot (for example, on a sunny windowsill or in the oven with only the light on, without any additional heat) and wait until the yeast starts to bubble slightly and do its work. Due to a concert, this phase, which usually takes about 15 minutes, took a little longer than usual this time (about 3 hours). But this didn’t harm the dough at all – quite the opposite!
As for the flavorings, we keep it simple. There are many recipes that add vanilla or rum-soaked raisins to the dough. Of course, keep this according to your own taste. We love a light lemon flavor, which makes the braided yeast bread especially delicious for a sweet breakfast. But otherwise, we don’t add anything else, and we’re very sparing with the sugar as well.
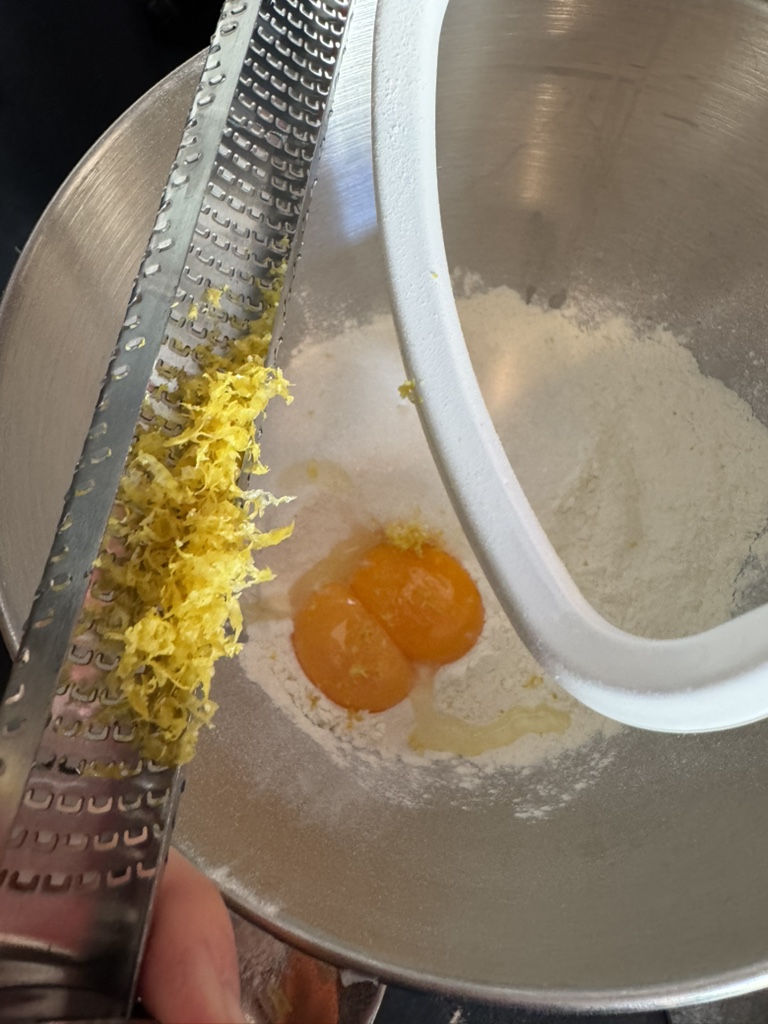
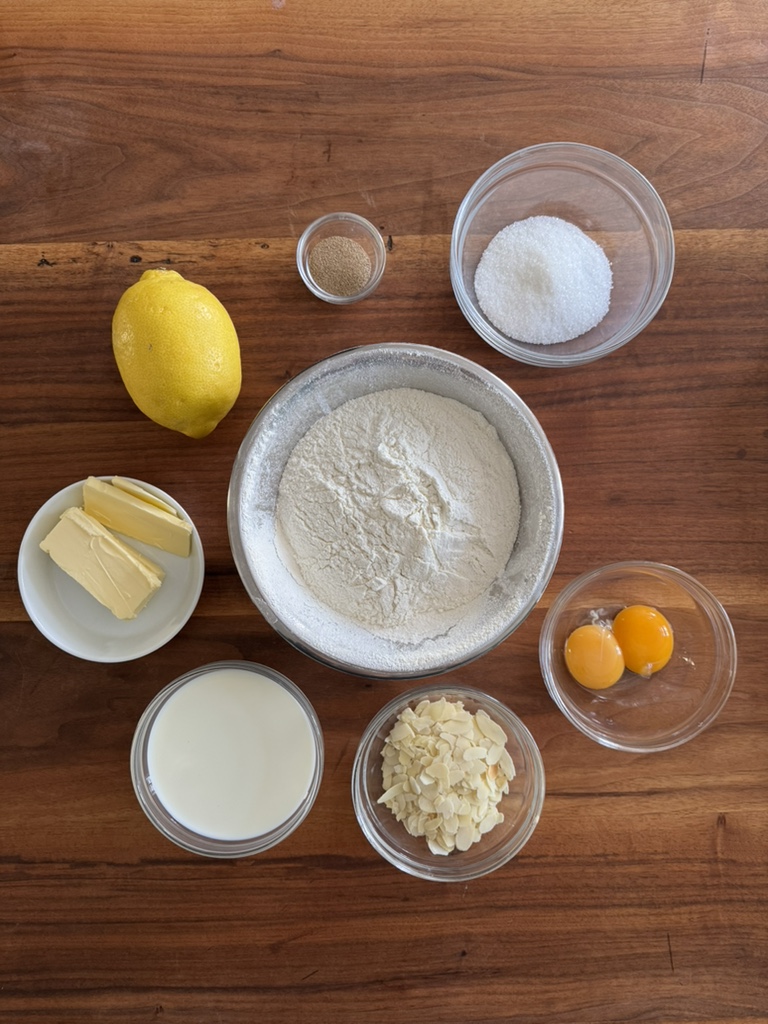
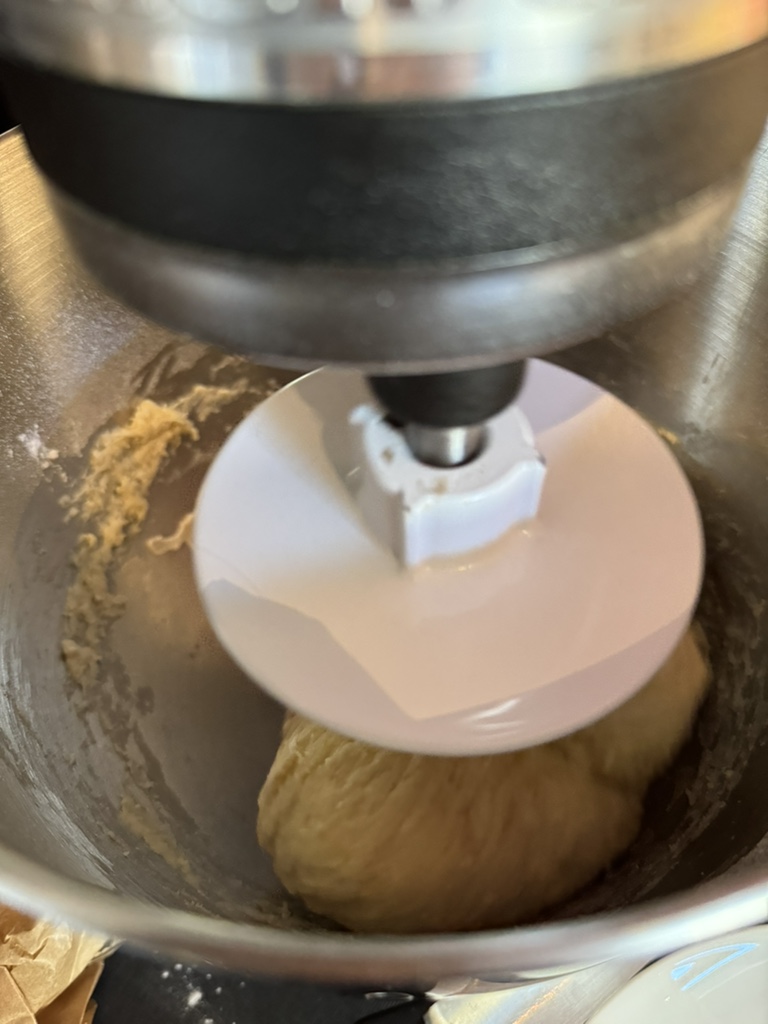
Flour, butter, egg yolks and a pinch of salt are the remaining ingredients we now add; knead these into a smooth dough using a food processor or by hand until it comes away from the sides of the bowl. We recommend sifting the flour; whilst this may seem a bit of a hassle, in our experience it can be very helpful in achieving a truly light and airy dough.
The dough now needs to rise. We let it stand in a covered bowl in a warm place until it has roughly doubled in size.
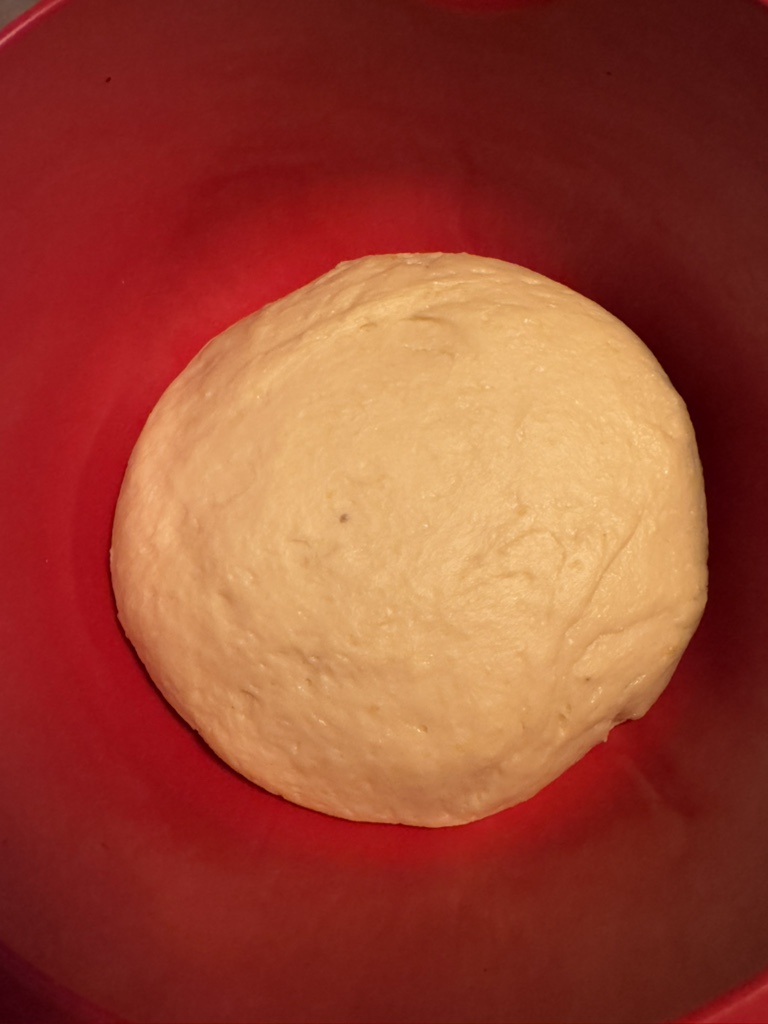
Depending on the weather and room temperature, this takes about an hour. However, since we will let the braided loaf rise again after shaping, we don’t need to wait too long here – bakers call this process “final proofing.”
Now we shape the braid. Of course, you can easily make a braid with three strands, which anyone can manage without detailed instructions. However, braids with more strands are not only prettier, they also have more surface area, which makes the final result especially delicious.
So here is an explanation of how to plait with 6 strands:
We weigh the dough, divide it into six portions and shape them into simple dumplings.
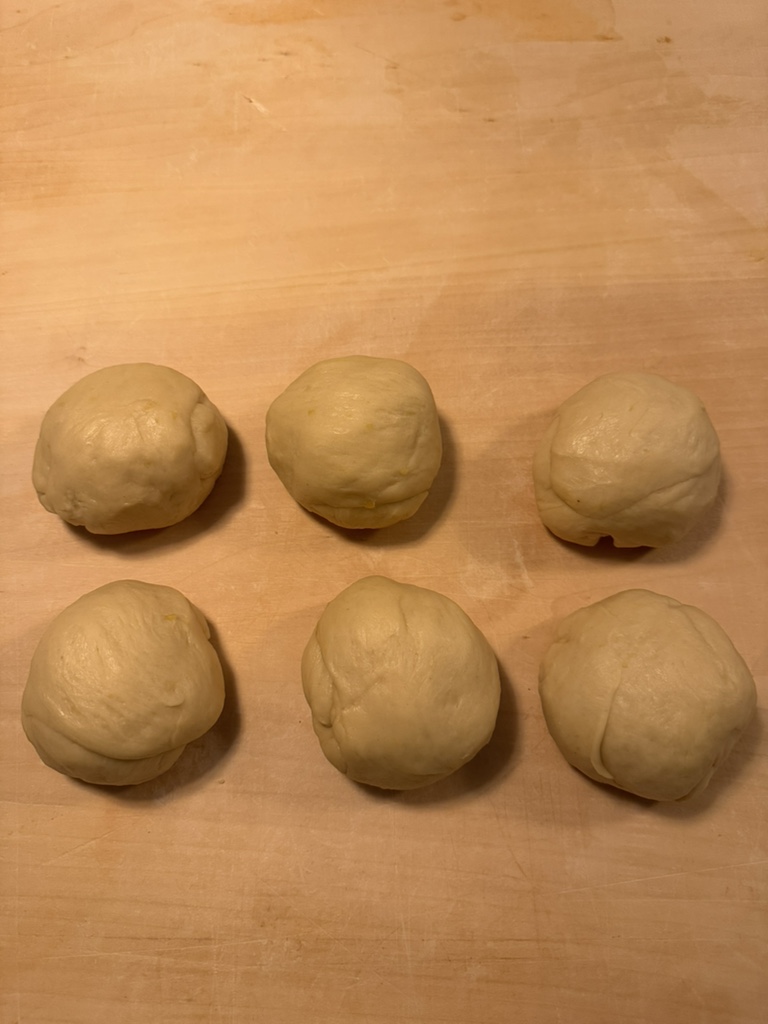
To shape the strands, we first roll the dough into a cylinder. Then we work from the centre using gentle pressure, rolling the dough out into a long shape of 40 – 45 cm, first with one hand, then with both hands. The plait turns out particularly well if the strand is slightly thicker in the middle and slightly thinner at the ends. This works best if you work on a board dusted very lightly with flour. If there is too much flour, the roll will simply slide across the surface; if there is no flour at all, the dough may stick.
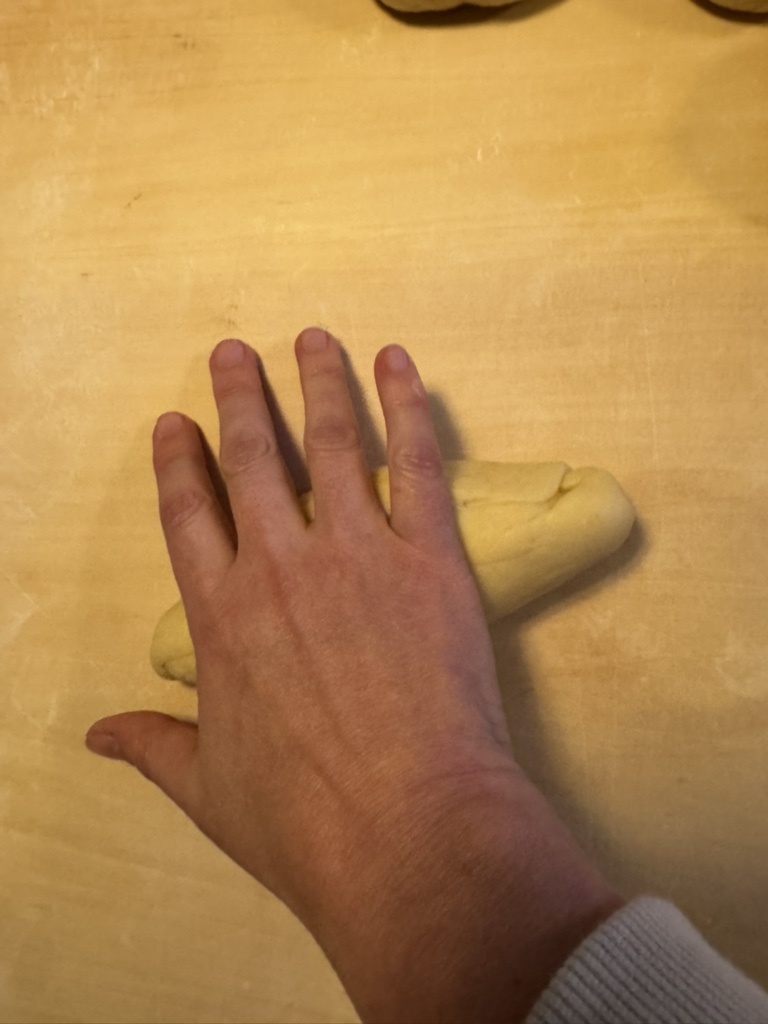
We join the 6 strands at the top by pressing the ends together. Then we start plaiting:
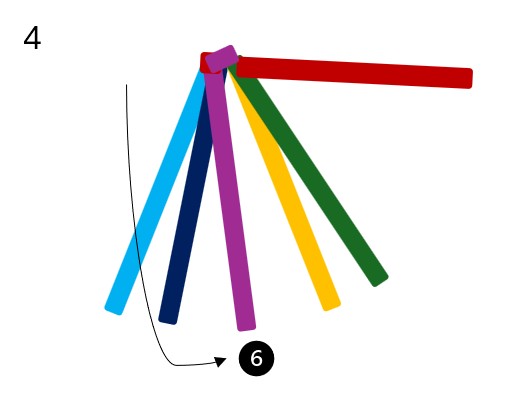
We number the strands from left to right: 1, 2, 3, 4, 5, 6.
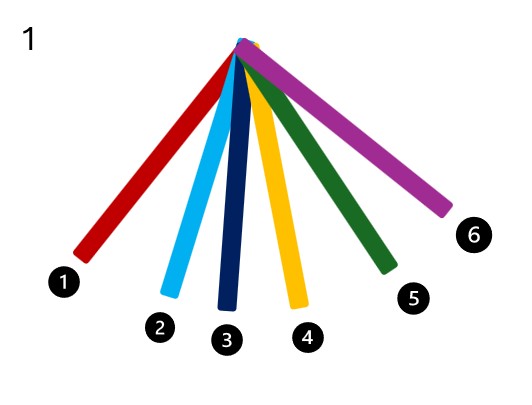
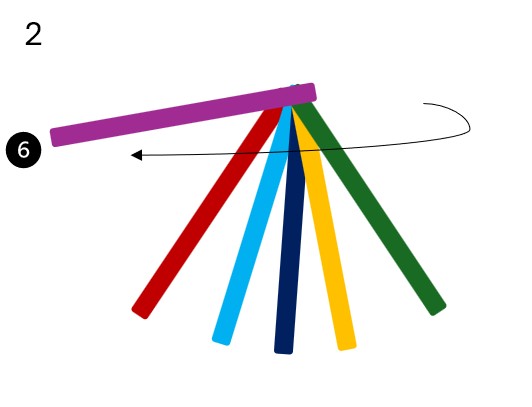
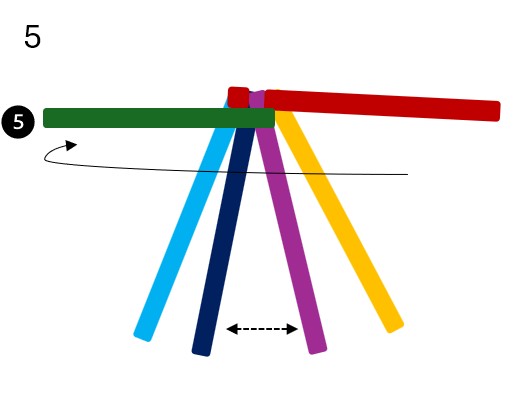
The outermost right strand (No. 6) goes all the way to the left, and the outermost left strand (No. 1) goes all the way to the right. In the middle between 3 and 4, we slightly increase the distance.
The principle from here on repeats itself and you always go over the neighboring strands, never under them:
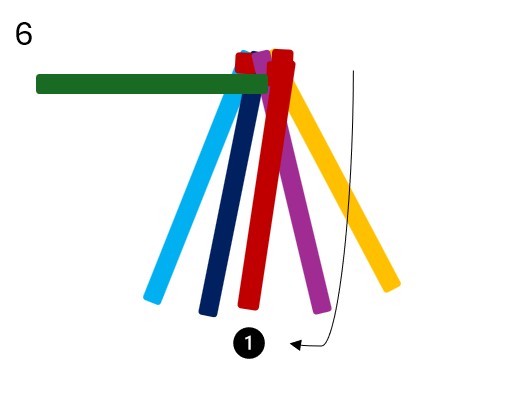
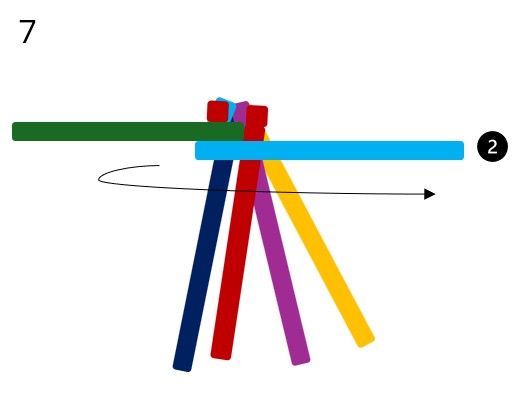
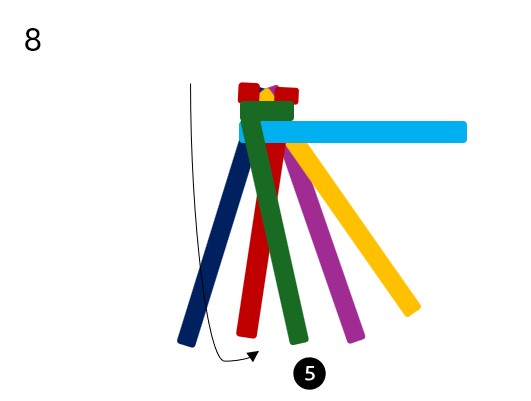
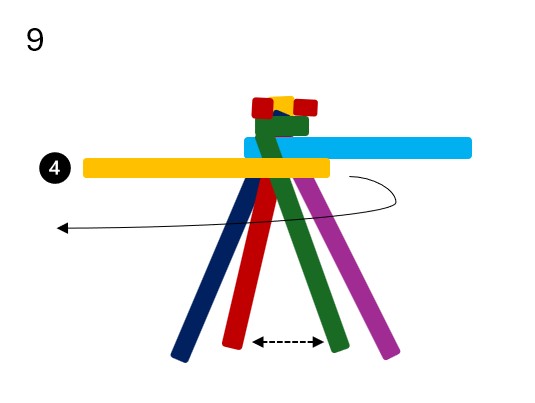
It sounds complicated, but it isn’t – after two rounds, you’ll have the hang of it. The key trick is to focus only on the outer strands; the middle strands sort themselves out.
Simply pinch the ends together at the end and tuck them under the plait, just as you did with the top ends.
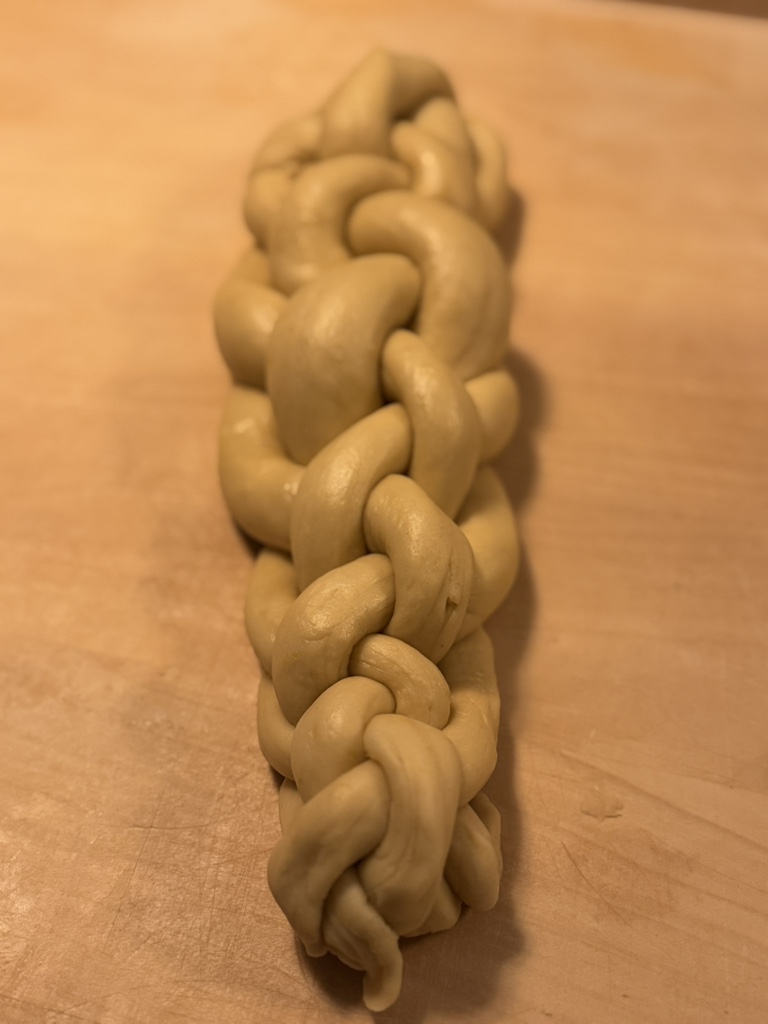
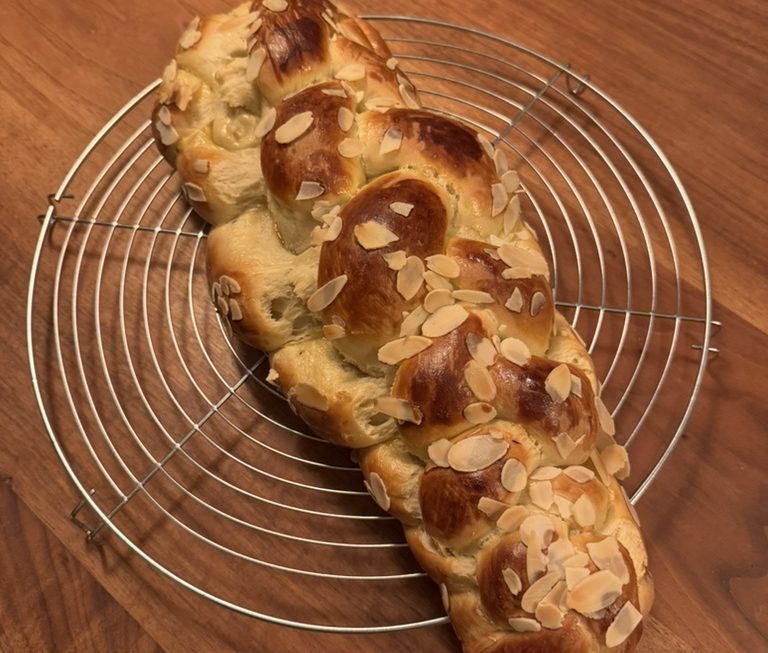
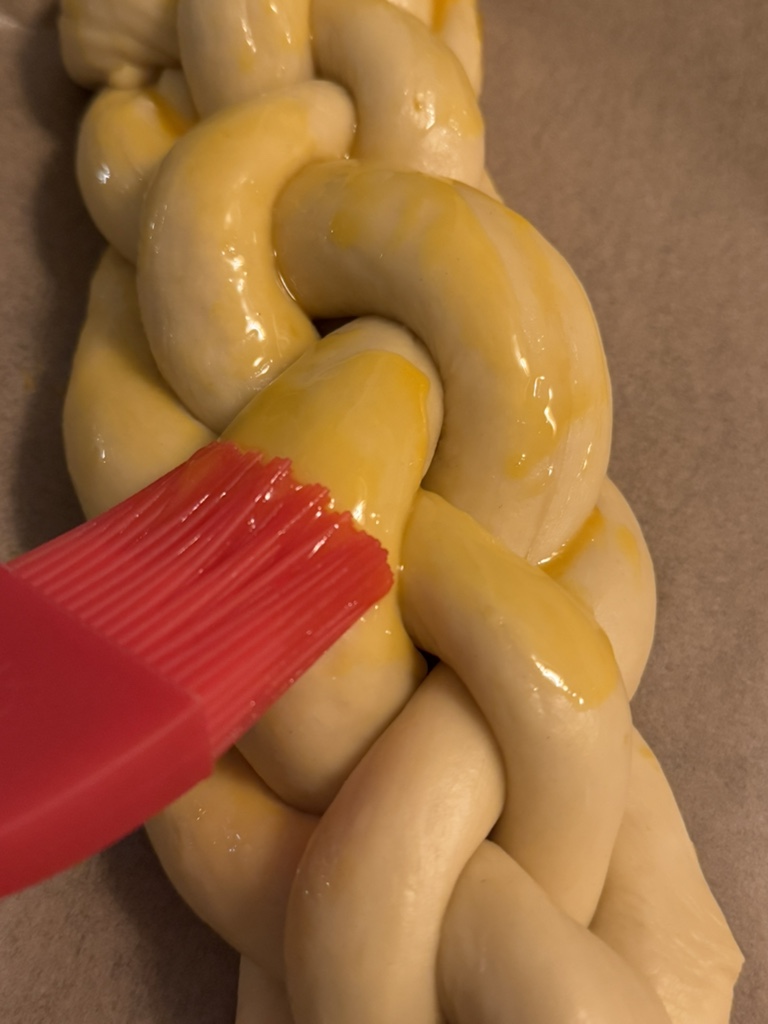
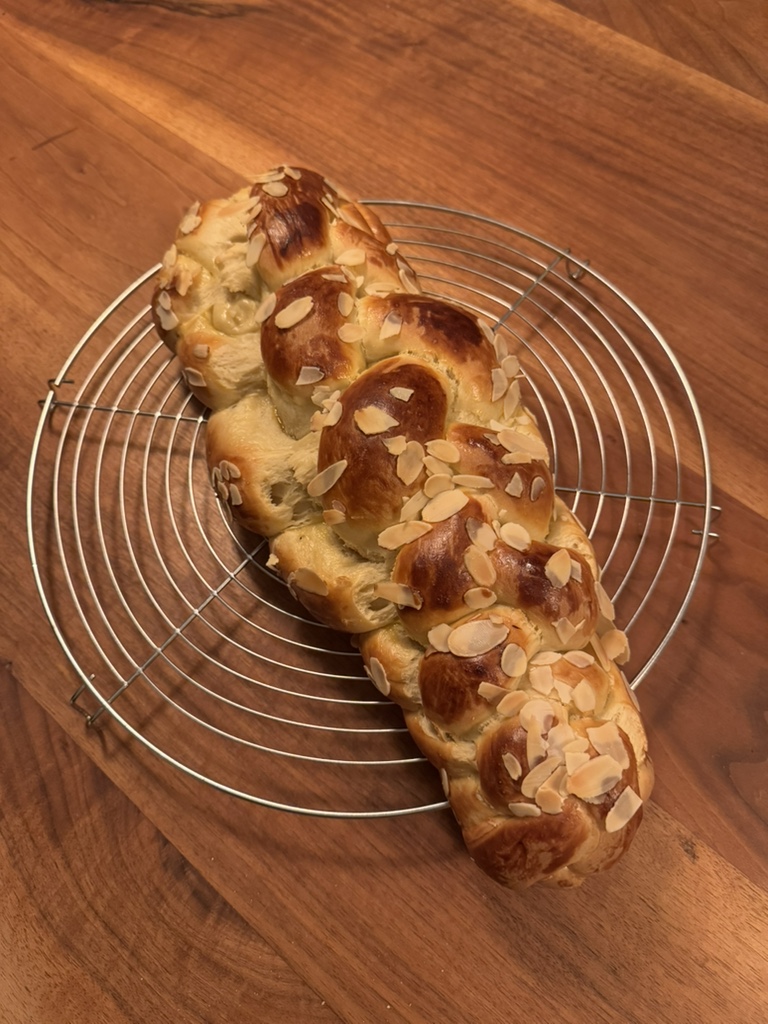
Now carefully place the finished braid onto a baking sheet and let it rest for at least another hour. During this step, it will rise quite a bit again; the air we squeezed out during shaping will be replenished by the yeast, making the braid fuller and more beautiful. Just before baking, brush the braid with egg yolk for a lovely, glossy finish and sprinkle on a few flaked almonds (which is optional).
Bake at 200°C (390°F) with top and bottom heat on the middle rack for about 25 minutes or until golden brown. Professional bakers recommend baking the braided loaf briefly in dry heat and, after about 5 minutes, placing a bowl of water in the lower section of the oven.
Enjoy.
And may the taste be with you.
Ingredients:
220 ml milk
70 g sugar
25 g fresh yeast
450 g flour (bread flour or strong all-purpose flour)
80 g butter
2 egg yolks
1 pinch of salt
grated zest of half an organic lemon
1 egg yolk for glazing
optional: 15 g flaked almonds