We are starting a small series on typical beer garden dishes with the (beer) radish, although in Bavaria it is called “Radi”. Radish is very healthy and tastes wonderfully refreshing, and its bitter note goes very well with beer.
The preparation is very simple, but we also want to explain how to cut the radish expertly so that it can also be served with elegance.

But first, a brief excursion into history:
At the end of the 18th century, beer in Bavaria could only be produced in the colder months. In order to store it during the warmer months, Munich breweries built cellars in which the beer could be stored with ice. Gravel was laid over the cellars and shady chestnut trees were planted, which provided further cooling.
However, the breweries were only allowed to serve beer seasonally; most of the year they were forbidden to do so. During the time when beer was served, benches and tables were set up under the trees. And this is what typical beer gardens look like to this day.
This serving of beer created unwelcome competition for innkeepers, which is why King Maximilian I. decreed in 1812 that beer could be served from June to September, but no food other than bread was to be offered.
From 1825, these beer gardens were also allowed to serve food. Especially in Munich and its environs, but also elsewhere in today’s Bavaria, this has preserved the tradition that guests are allowed to bring their food – usually bread, cheese, sausage and salads – into the beer garden and only have to buy the drinks there. For other hungry guests, the beer gardens of course offer all kinds of cold and hot dishes.
Here in Munich, it’s a common summer treat to get together in the beer garden with a tablecloth and picnic basket, and everyone brings something homemade to eat.
A beer radish or “Radi” should not be missing. Everyone then plucks fine slices from the nicely cut radish as they wish, which are enjoyed simply as they are or along with the other dishes.
Let’s get to work:
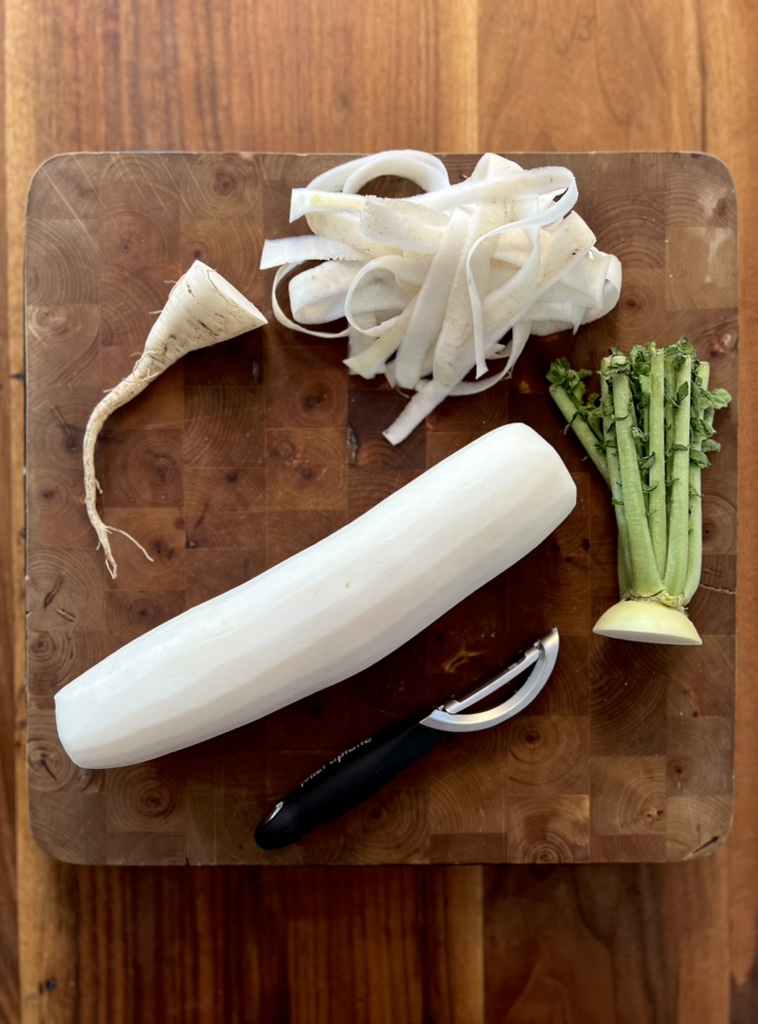
Peel a large white radish and cut off the ends.
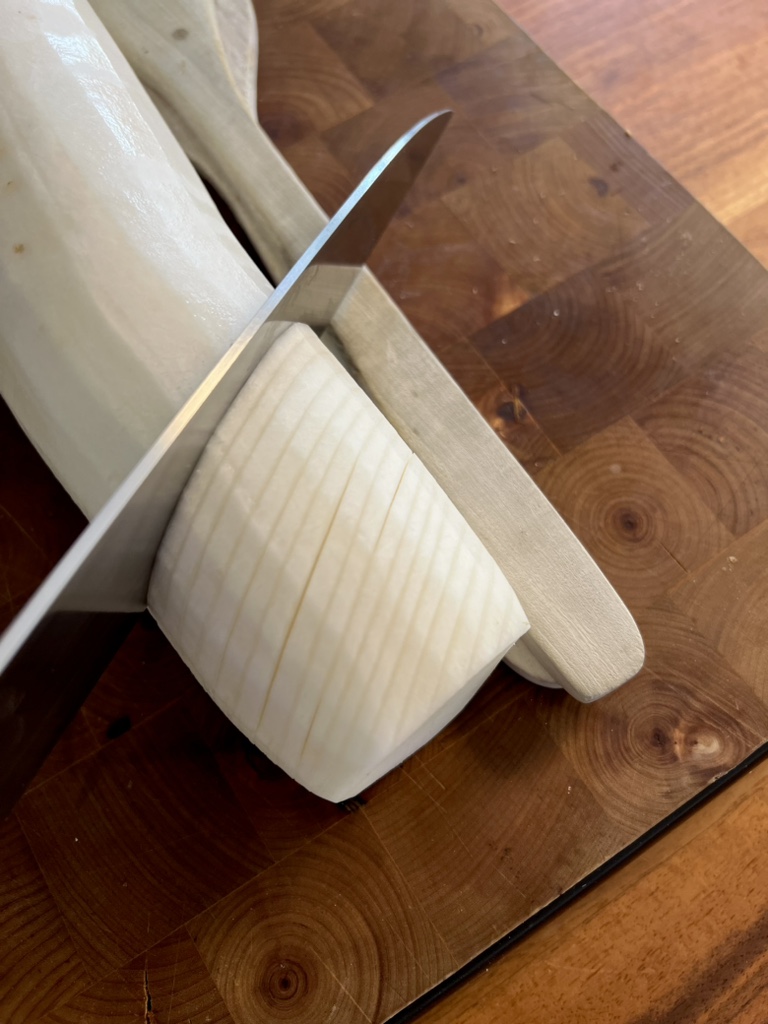
The trick when slicing the radish is to only cut it about two thirds and not all the way through – after all, the slices should stick together.
To do this, you can place cooking spoons or similar next to the radish as an aid so that the knife cannot reach all the way onto the cutting board.
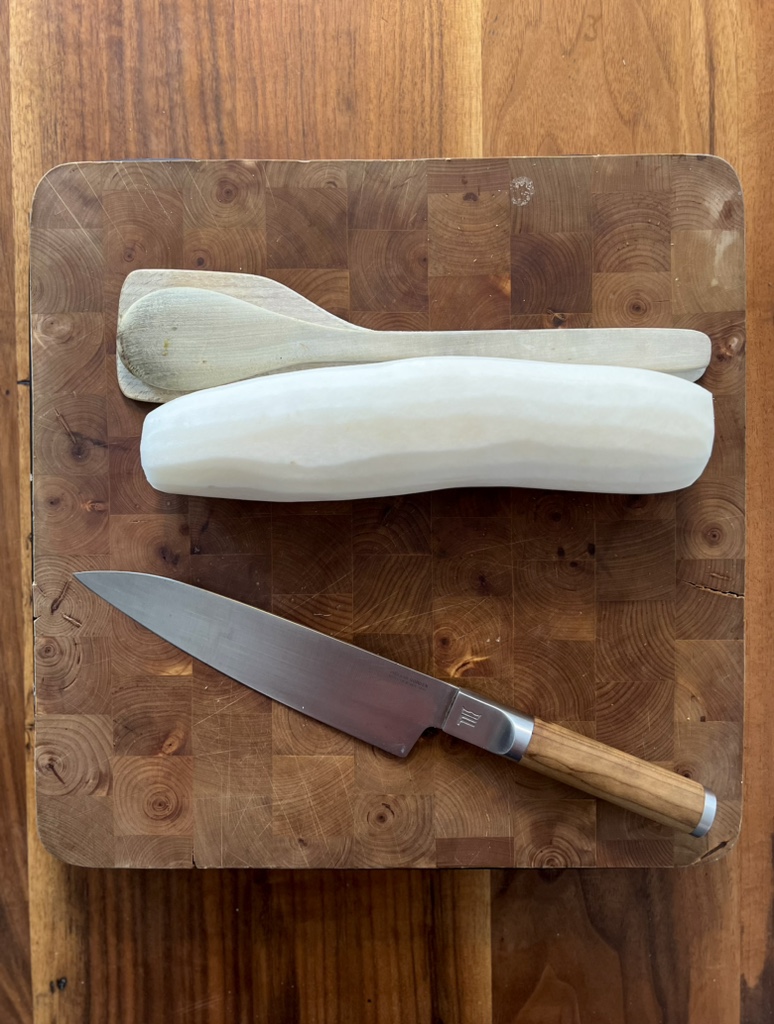
Now cut the radish straight from the top, but do not cut through. The slices should not be thicker than 2 mm. If they were thicker, the radish would not develop such a fine aroma later.
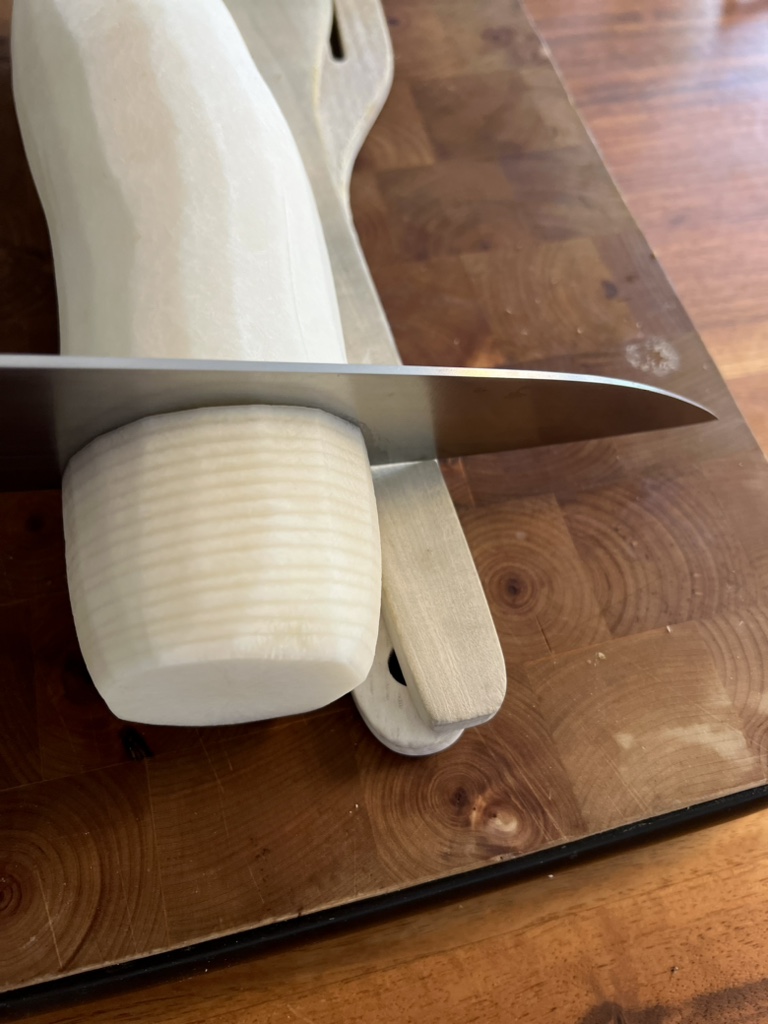
Quickly the whole radish is finely sliced.
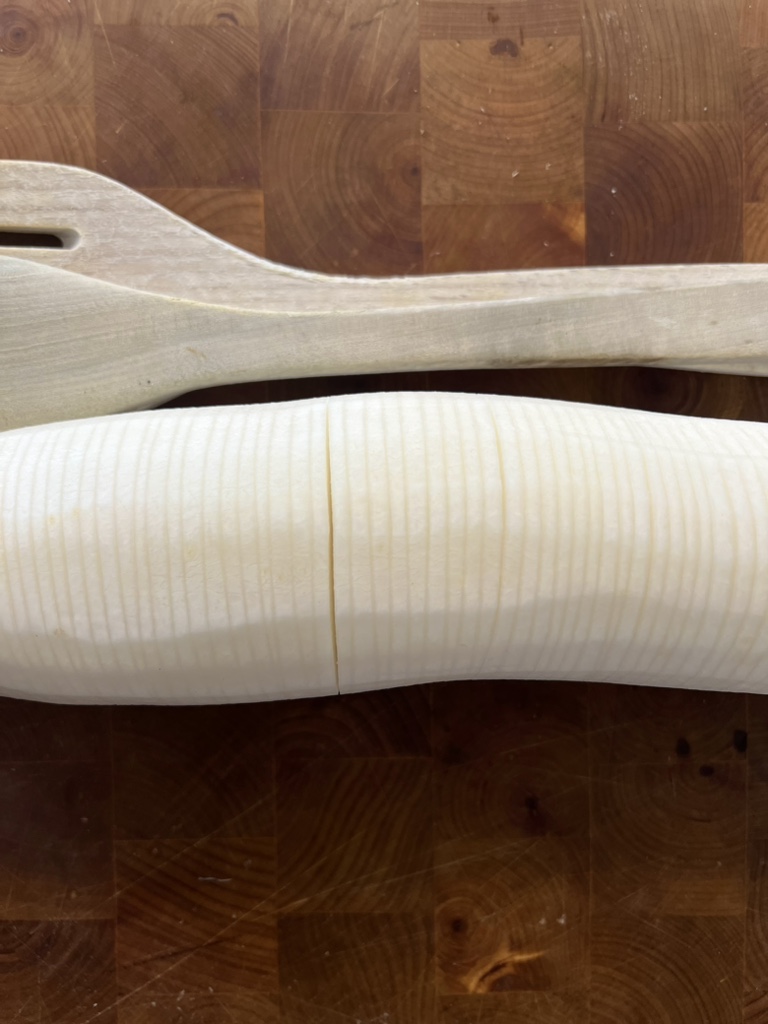
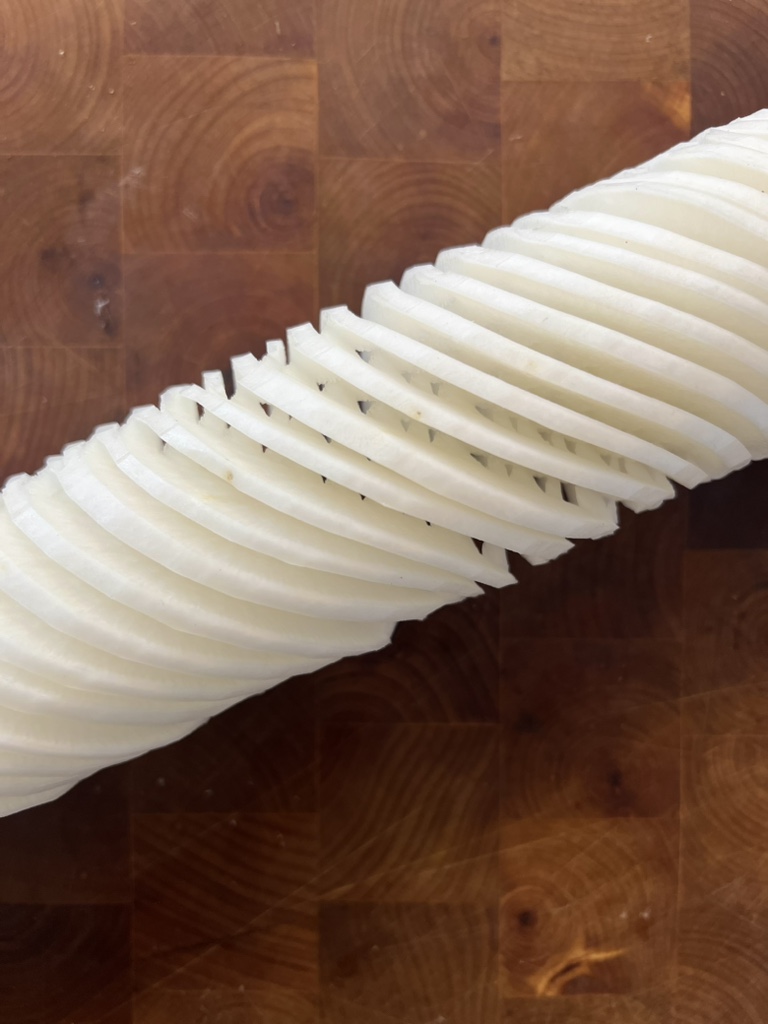
Now turn the radish 180 degrees so that the cuts you just made are at the bottom. Again, the radish is cut just as finely, but this time at an angle of 45 degrees.
When this is done and you fan out the radish, which remains surprisingly stable, you get this beautiful picture:
Now salt the radish generously on all sides. To do this, pull the slices apart a little with one hand while the other hand sprinkles pinch after pinch of salt over and into them. Important: You have to salt thoroughly so that the radish releases a lot of its liquid – with which some of the salt is also washed out again.
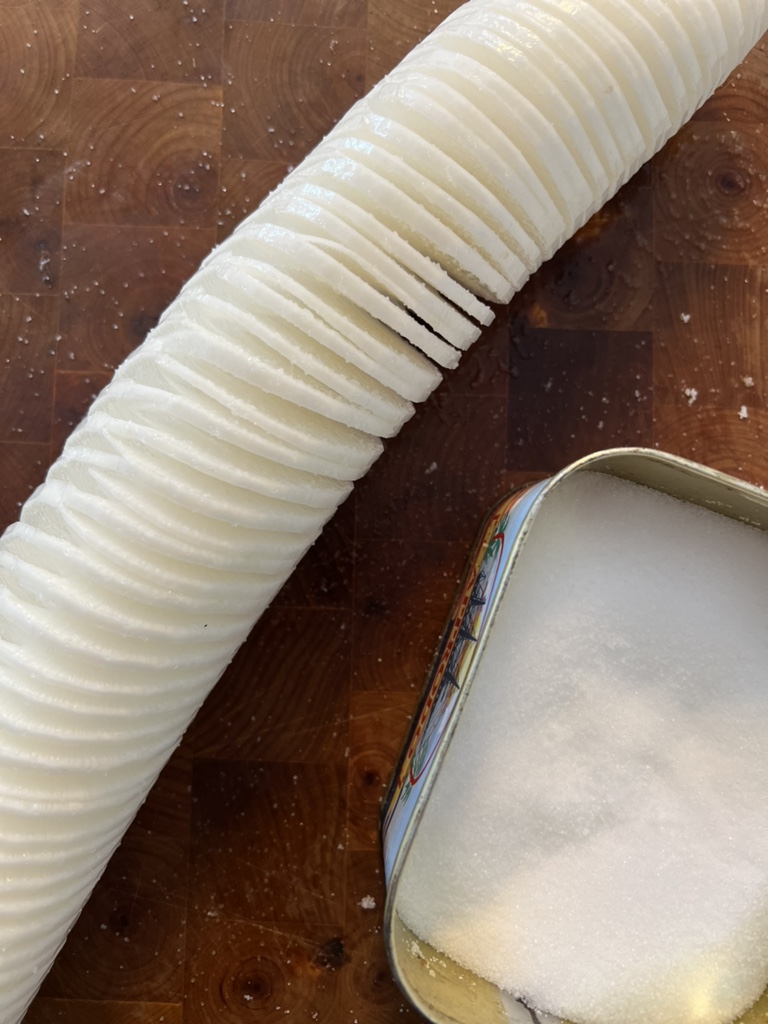
Rub the salt lightly into the radish with your fingers so that it is distributed everywhere. Then put the radish in a sealable container and leave it to “weep” in the refrigerator for at least one hour: the salt extracts liquid and the radish becomes soft and palatable. It helps the distribution of the salt if you turn the radish once during this time.
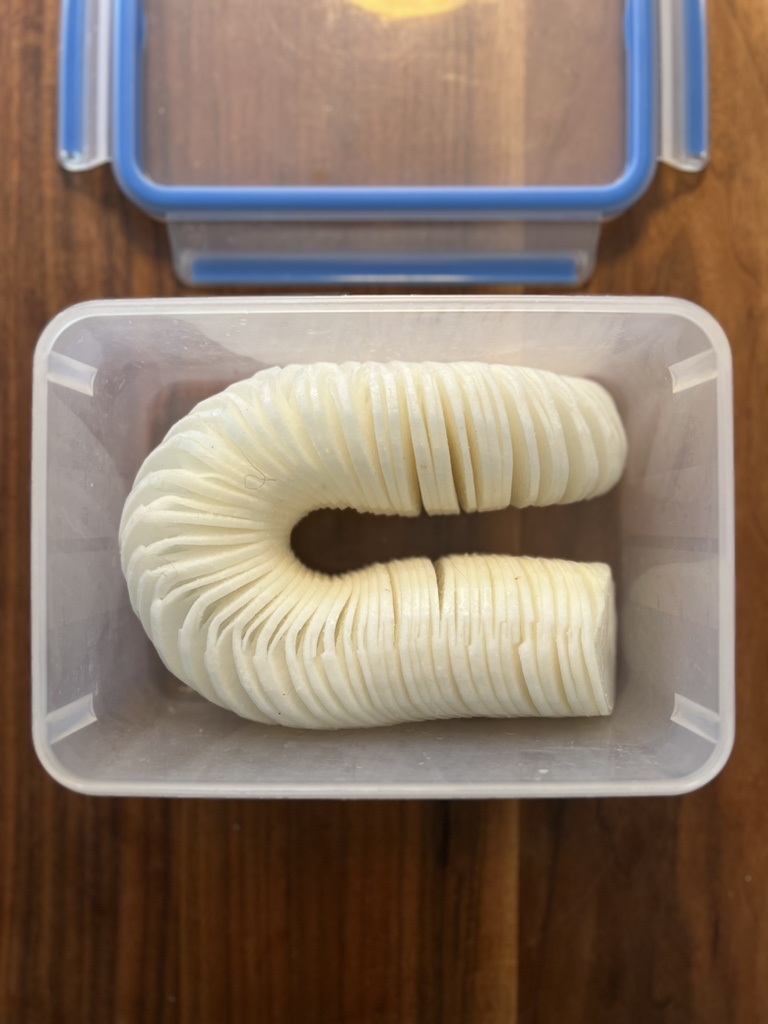
A perfect side dish for the beer garden or a picnic and especially delicious on warm days.

Enjoy.
And may the taste be with you.


One thought on “Beer garden radish”