Pizza is a kind of sanctuary, so let’s be very clear right up front:
We are not arguing for or against any other recipes or types of pizza, certainly not Neapolitan. So sheathe your swords right now. This recipe is simply meant to show you a way to make excellent pizza in a standard household oven, without expensive or energy-intensive add-ons.
The problem: The best pizza is baked in a wood-fired oven, at a minimum of 400 degrees Celsius. Professional ovens reach temperatures of 500 degrees Celsius and above.
This is usually out of the question in the household. You mostly don’t get above 250 degrees. However, you can achieve very good results even at this temperature if the dough preparation is right.
A good dough always consists of much more than just mixing a certain amount of ingredients. Therefore, in this recipe we cannot avoid basic know-how on how to prepare dough. So this will be a very technical article with a lot of text. Nothing can be done about that, unless you just don’t want to know. Yes, we are kitchen nerds. We know.
A basic rule for Neapolitan pizza dough is: for a quantity of 100 units of flour, there are 65 units of water, 3 units of salt and 0.2 units of yeast. That is very little yeast (and not little salt). The fact that the dough nevertheless develops a strong aroma is due to the individual stages of preparation.
You need time for that. We show the full programme here, divided into individual phases. We also present a shortcut that also leads to a good result, albeit logically with cutbacks.
Phase 1:
Phase 1 is the preparation of a pre-dough called poolish. The name is believed to go back to Polish immigrants to Western Europe. A poolish contains equal parts of flour and water. A maximum of 15 – 30 % of the flour is used.
This recipe lets you bake 8 pizzas, the size of which is also adapted to the household oven and is therefore slightly smaller than you would expect from a wood-fired oven.
We use 1,000 g of Italian Tipo 00 flour (finely ground, high protein). If you use standard flour instead, then you should reduce the amount of water from 65% of the flour to about 58%.
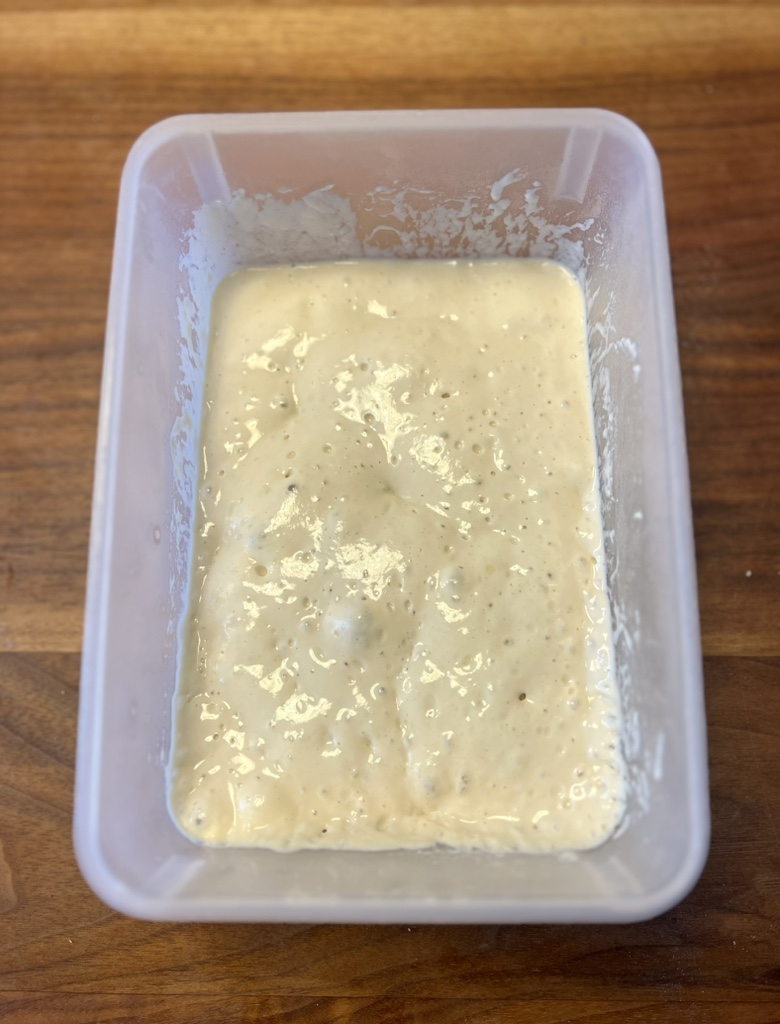
We use 200 g of the 1,000 g flour for the poolish. Please be very precise and be sure to use a kitchen scale. Dissolve 4 g honey and 4 g dry yeast (alternative to honey: brown sugar) in 200 ml water (room temperature). Then we add 200 g flour and mix everything to a homogeneous, quite liquid mass.

It is important for the pizza dough to prove for a long time. You will get the best results if you give the dough plenty of time. To do this, leave the poolish to rise for two hours at room temperature and then in the fridge for at least 16 hours. The poolish must therefore be prepared the day before (we will get to the quicker alternative later).
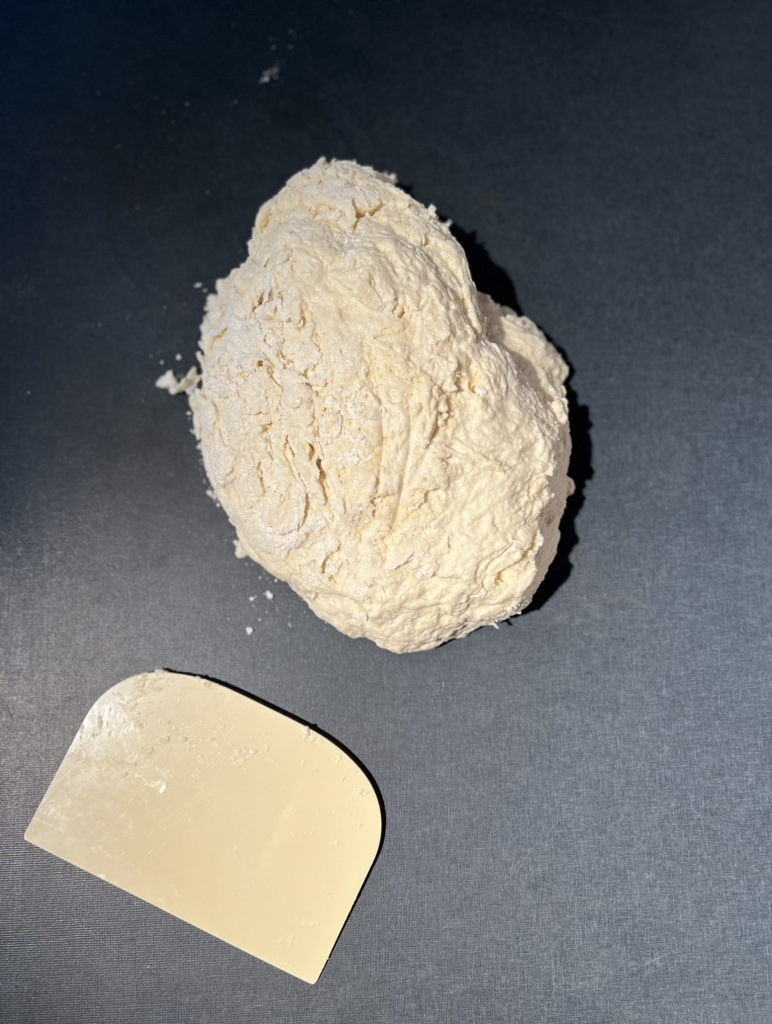
We recommend using a silicone spatula. And a dough scraper, which is an extremely cheap and flat tool made of plastic. You should definitely have this in your kitchen.
Now we measure out the remaining water. 1,000 g flour means 650 ml water. 200 ml of this is in the poolish, so 450 ml is still missing. 200 g of flour are in the poolish, so 800 g are still missing here. Add 30 g of salt.
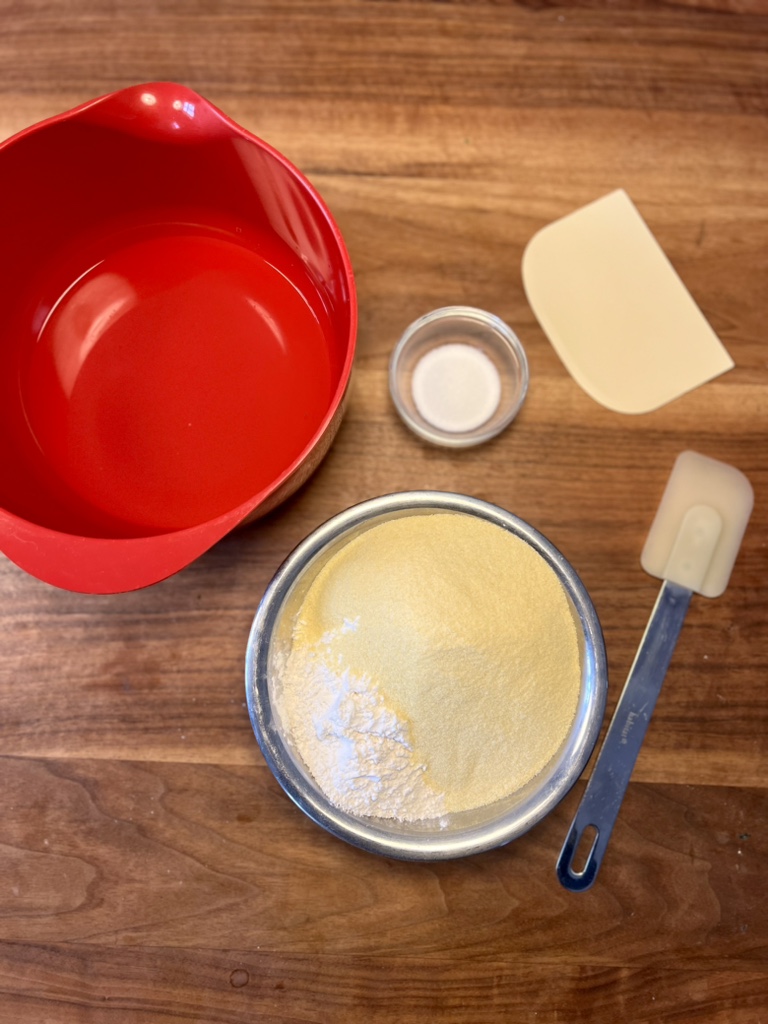
We recommend – for the domestic oven – replacing one fifth of the flour with semolina. This is not compulsory, but it makes for a much better crust at lower temperatures in the oven. So at this point we mix 600 g flour (with the flour in the poolish then 800 g) with 200 g semolina (then a total of 200 g from 1,000).
If you should use a different flour instead of Tipo 00, we strongly recommend doing it this way.
Phase 2:
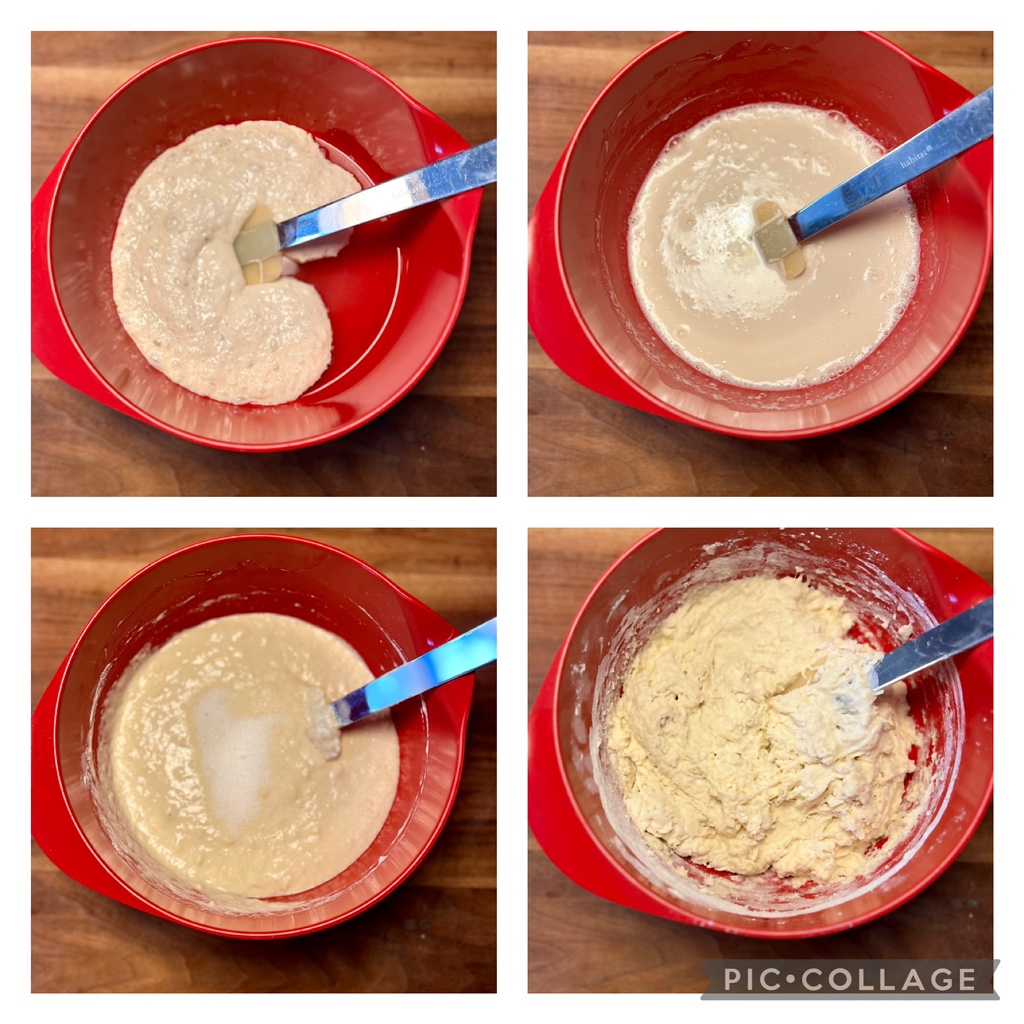
Add all the poolish to the water with the help of the spatula. Stir until the poolish is completely dissolved. Add half of the flour (and the semolina) and continue mixing. Then add the salt and the second half of the flour and stir until a firm – not perfect – mixture is formed.
Place this raw dough on a work surface with your dough scraper. It should be as smooth as possible. Unlike for pasta dough, a wooden board is not suitable for this.
Now fold one half of the dough onto the other half with your hand or with the help of the dough scraper and then press the whole thing together again from above with the other hand. Do this alternately in different directions up to about 20 times for a few minutes. Think of a massage: pressure yes, force no.
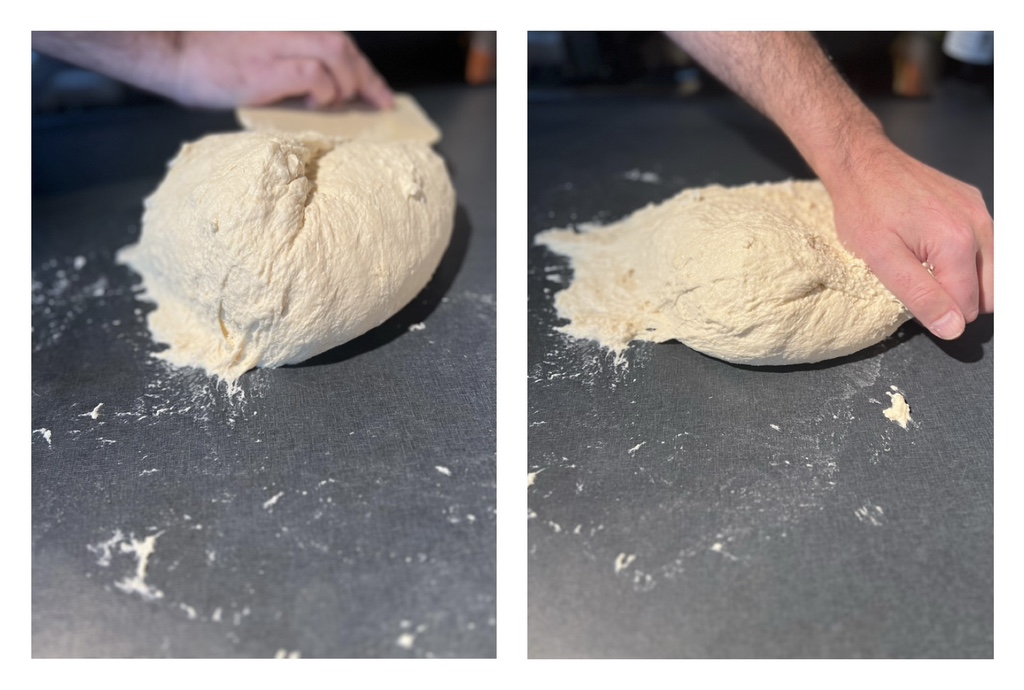
Do this until you have a homogeneous but still quite sticky mass.

Now cover the dough with your bowl….
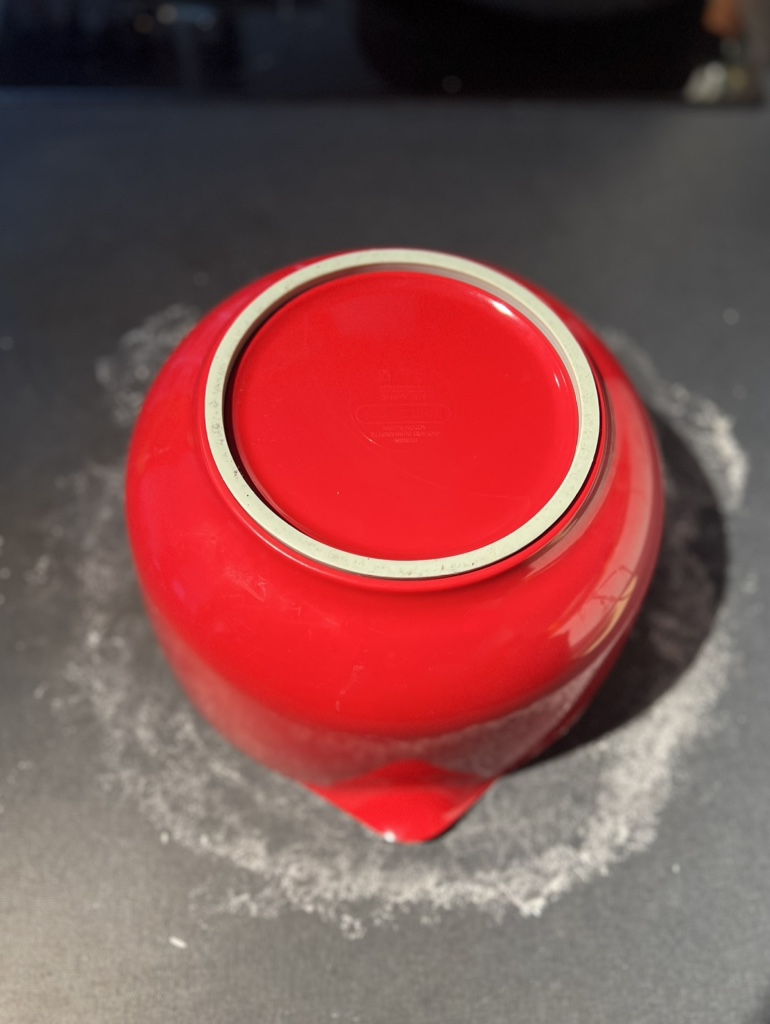
…and wait for about 15 minutes. Every dough must rest in order to become really delicious.
Phase 3:
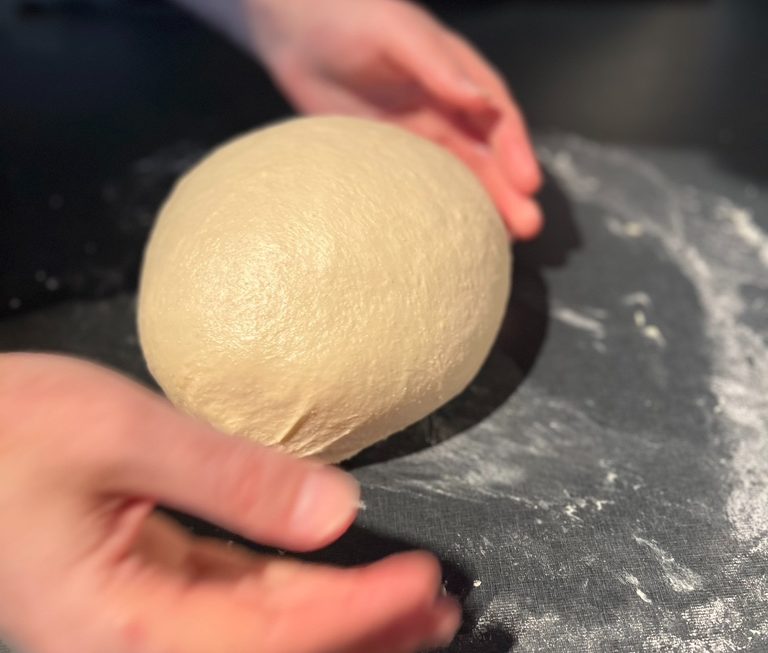
We are approaching the finale. Cover your hands with a little olive oil. Then, with both hands and fingers closed, reach under the dough and lift it up. The dough is stretched and its ends point downwards. Let these ends touch each other and place the dough on top. Then do the same again, at a 90 degree angle. And again and again. It’s easy, you’ll see – with this simple movement you gradually create a ball with a surface that miraculously becomes smoother and smoother.

When the dough is smooth on the surface and has taken on the shape of a ball, we perfect it. Gently pull the ball of dough towards you with the inside of your hands, turning it a little, then gently push it away from you.
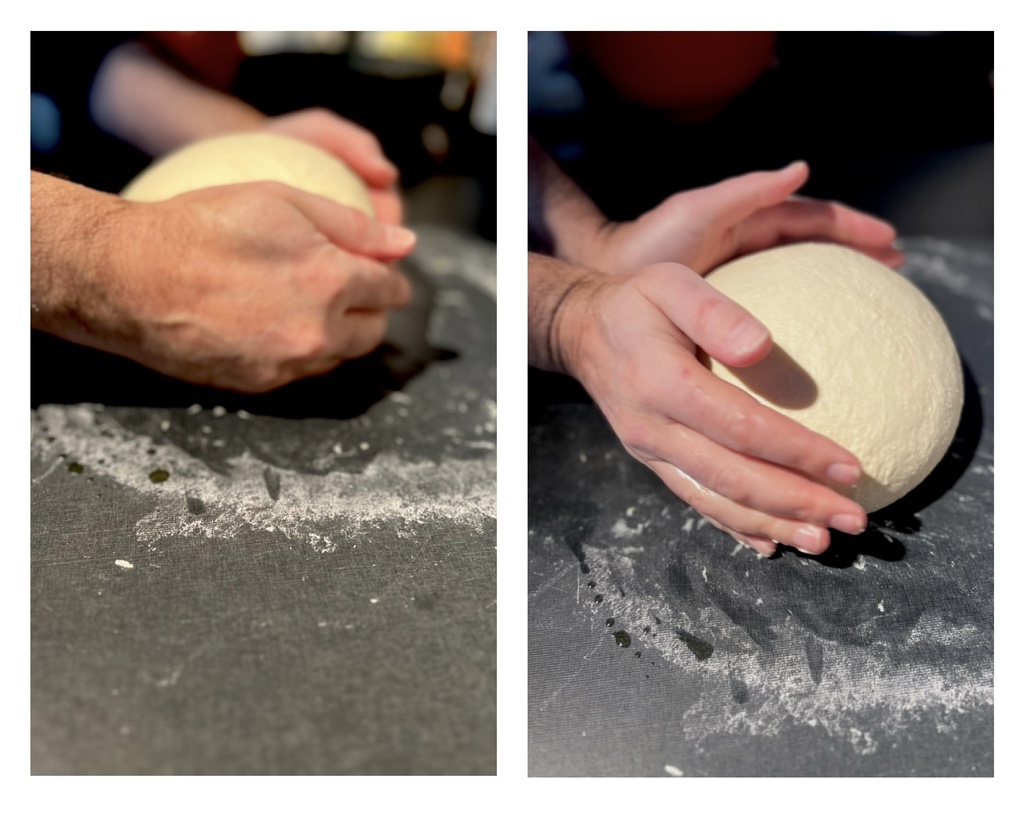
And already it looks like this:
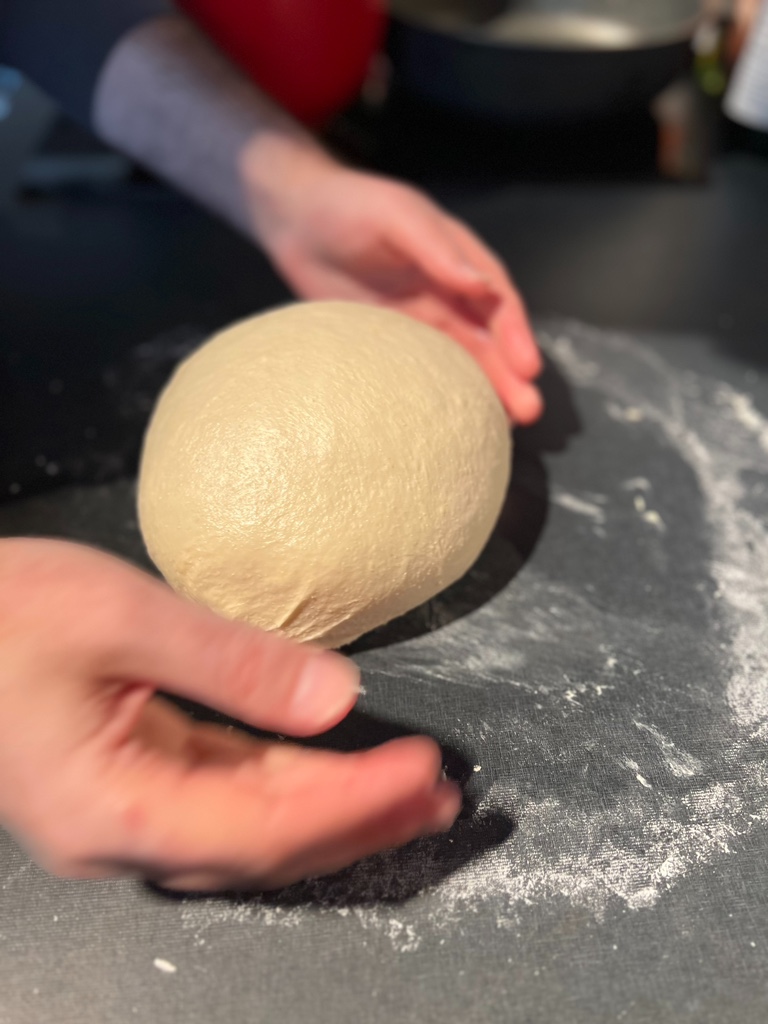
Important from now on: The top of the dough is the top and it stays that way until the end!
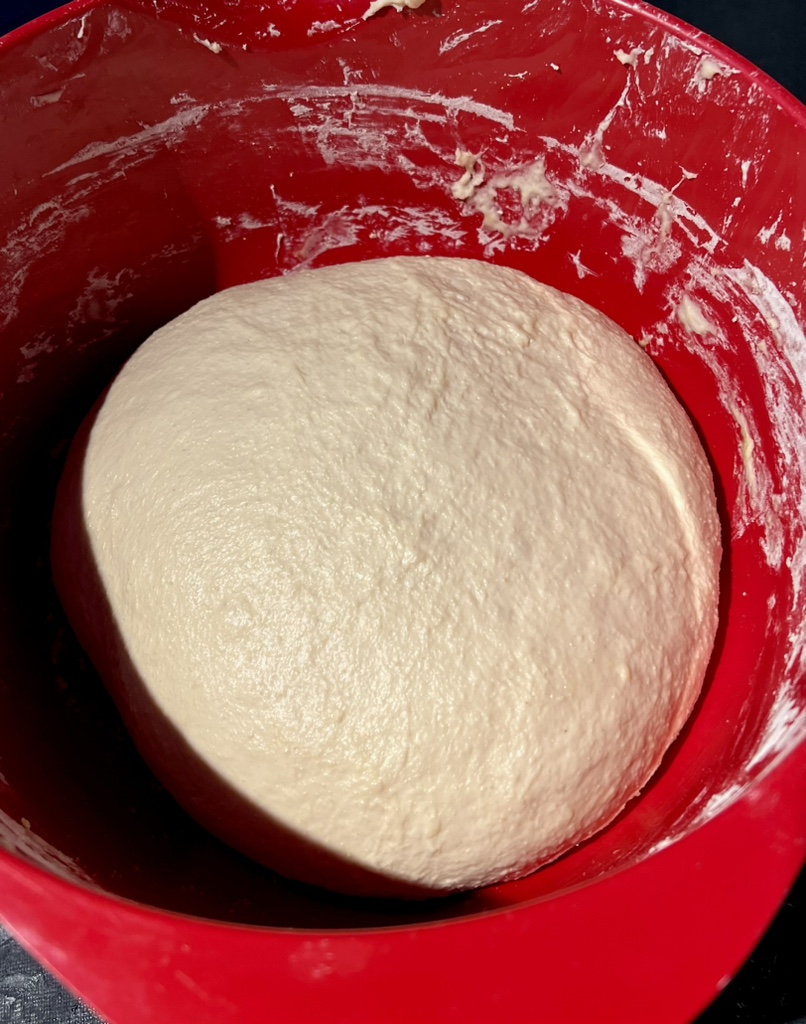
Put a little olive oil in your bowl and place the dough ball in it, top side up.
Phase 4:
Divide the dough into 8 equal pieces. This is also best done with the dough scraper. And: The top of the dough always stays on top!
Now small balls of dough are formed from these pieces. There are a whole range of techniques for this, which are also very sexy. We explain the easiest one:
Flour your work surface a little. Put some olive oil on your hands. Lay one piece with the top side down. Fold the outside towards the centre to form a ball shape. Finally, grasp the centre and turn the ball over (the top will be on top again). Use the inside of your hands or your fingertips to form a perfect ball of dough.

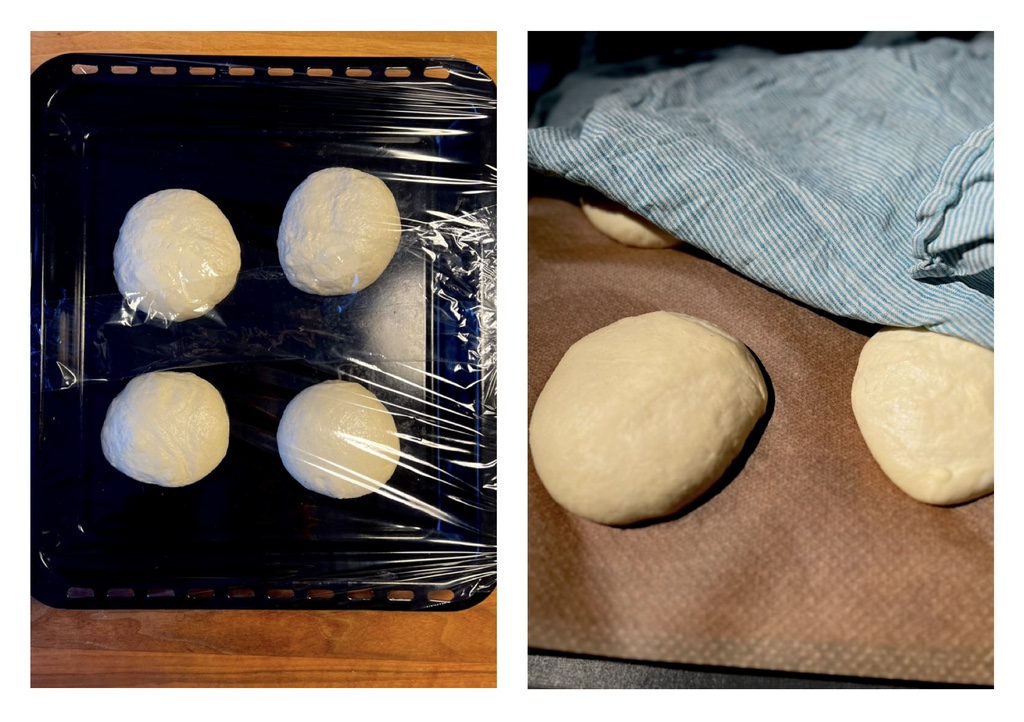
Now lightly flour an oven sheet and place your dough balls so that they have enough space to double in size. Cover everything with foil. Alternatively, we tried to avoid even this little bit of plastic, placed half of the dough balls on a wooden board and covered it with a damp cloth. It works, but unfortunately the dough dries out rather quite quickly.
After these 2 hours, the dough is ready. Your tomatoes, mozzarella and other ingredients of your choice better be too. We will only explain the dough today, not the rest – the dough is obviously the central element of every pizza.
Phase 5 (the last one):
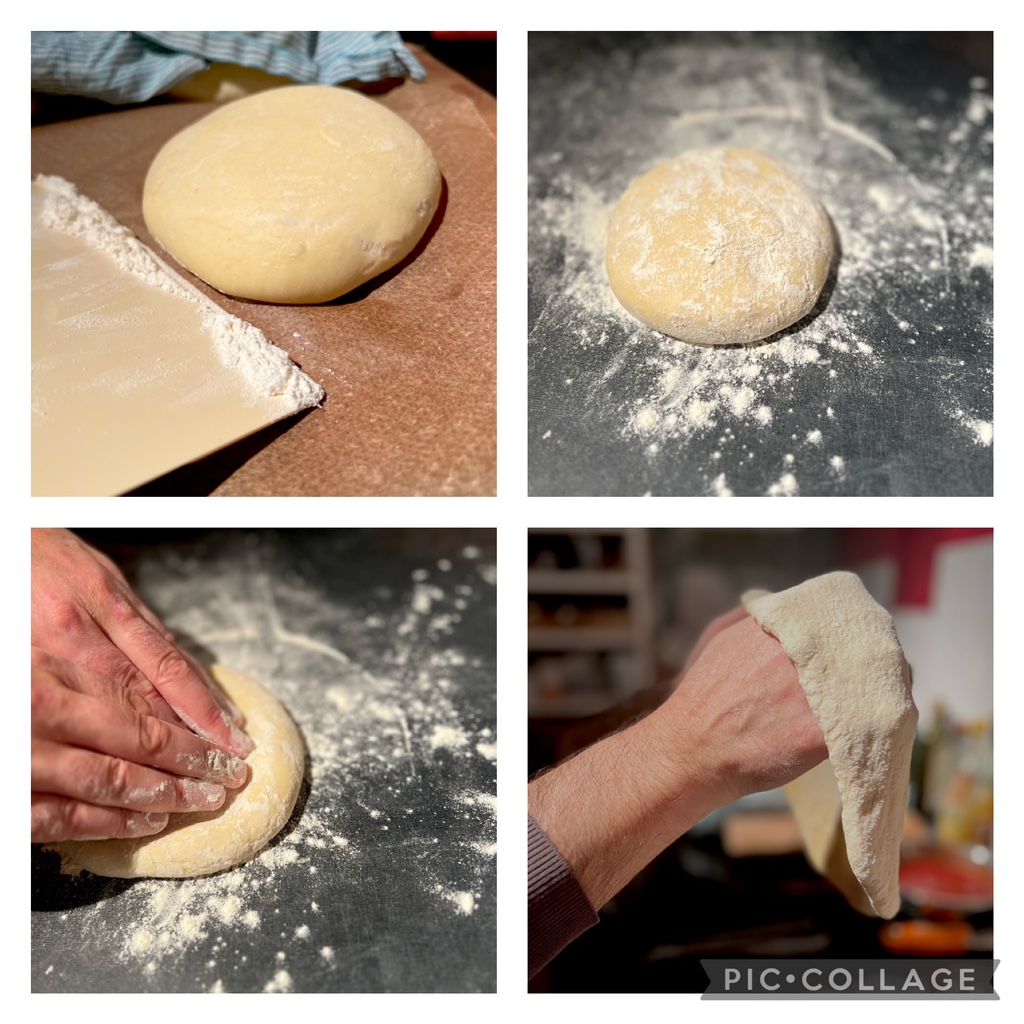
Now it’s about shaping the pizza.
The short explanation: Put some flour on the dough scraper and use it to lift a ball of dough. Flour the dough ball on both sides. Form the crust with closed fingers, once from both sides. Again, do not forget where the top is. Stretch until the right size is reached.
Here is our favourite video of this process. Awesome!
After countless tests, we come to the conclusion: The best way to bake an excellent pizza in a household oven without energy- and cost-intensive equipment is at maximum heat with convection on a Silpat baking mat that is placed on the oven rack. The oven rack and the mat do not need to be preheated, both cool down quickly enough for the next pizza, nothing sticks and cleaning is child’s play.

The fast version:
The fast version is of course not better!
Skip phase 1 – the poolish.
Use lukewarm water and dissolve 7 g honey (or sugar) and 7 g dry yeast (instead of 4 g) in it. Let this sit for 10 minutes.
Mix the flour (and semolina) with this mixture to make a first dough.
Then continue with phase 2, as from folding the dough.
Enjoy.
And may the taste be with you.
Ingredients (for 8 slightly smaller pizzas):
1.000 g flour Tipo 00
or:
800 g flour Tipo 00 and 200 g semolina (recommended)
650 ml water
4 g honey (or brown sugar)
4 g dry yeast
30 g sea salt
Some very good olive oil


10 thoughts on “Pizza dough – specifically for the household oven”